In my previous post Kotlin “By” Class Delegation: Favor Composition Over Inheritance I covered using by keyword for class delegations. You can easily reuse and compose existing concrete implementations in your code. In this post I will be going over using the same by keyword for properties and how you can use them to create reusable code and reduce awkward boilerplate code. I will also include some Android specific samples with delegated properties.
Delegated Properties Basis
JetBrains has a really detailed official documentation about Delegated Properties. If you would like to read official one or you already have some ideas about it, you can skip this section.
For me the best way to learn a new language feature is always to start with some real life use cases. Let’s consider a simple requirement: I have a Resource object and it is expensive to create, so I just want to create it once and keep reusing the same instance in my code.
You might create a field and a dedicate method to handle to creation and assignment of the shared instance:
| |
Yes, I know this method would not work properly in multi-threading environment and you might need to use object locks or double-checked locking. For now let’s assume the method will be always called from the same thread just like all the lifecycle methods are called in the “main thread” in Android.
Now we have a “lazily initialized” filed and it’s created only once. But now we would like to have more fields like that and because the implementation will be identical to the previous one, we will basically end up with replicating the existing code, which is simply a bad approach.
To reuse the code we write above, we can use Kotlin’s delegation for properties to encapsulate common logics. All we need for creating a “read-only” delegated property is to implement the following method in any class:
| |
Note that the class does not have to implement any special interface or abstract class but a specific function getValue(). The compiler will check the signature and make calls to the method when you try to use the delegated property. With the class implemented, we can use it directly for any fields as if they were normal properties:
| |
Convenient interfaces: ReadOnlyProperty and ReadWriteProperty
Even though Kotlin does not force you to implement any interface, but the function signatures are just awkward to memorize by heart. Therefore Kotlin has two interfaces defined for you to implement read-only and read-write delegated properties:
| |
Built-in Delegated Properties
There are a few standard delegate implementations that Kotlin provides in the library so we don’t have to reinvent the wheel again. The following content are referenced from the official doc for Delegated Properties. Check it out if you would like to read more about it.
Standard Delegates:
- Lazy: As the name suggested, the internal property will be only initialized once based on the specified LazyThreadSafetyMode. By default
SYNCHRONIZEDis used. In some special cases, you may useNONEto avoid the cost of synchronization. - Delegates.observable() & Delegates.vetoable():
observable()allows you to “see” the changes made to the property. You might want to trigger some actions when the value changes. User authentication states will be a good example.vetoable()is built on top ofobservable(). It allows you to even “veto” the change depends on your use case. Say you would like to have odd number for a specific property, you can cancel all the assignment of even numbers to it. - Delegated values in one map: Kotlin actually allows you to use one single map for multiple delegated properties. You can delegate a
Intproperty using the syntaxval age: Int by map. The key of the map is alwaysStringand name of properties, but value can be in arbitrary types.
Examples in Android
One reason why Kotlin has been picked by developers from different areas is that you can quickly turn existing libraries for business logic into reusable functions that is more concise and readable using Kotlin language features. Android SDK APIs sometimes can be verbose. Let’s see what we can use Kotlin property delegations in Android development.
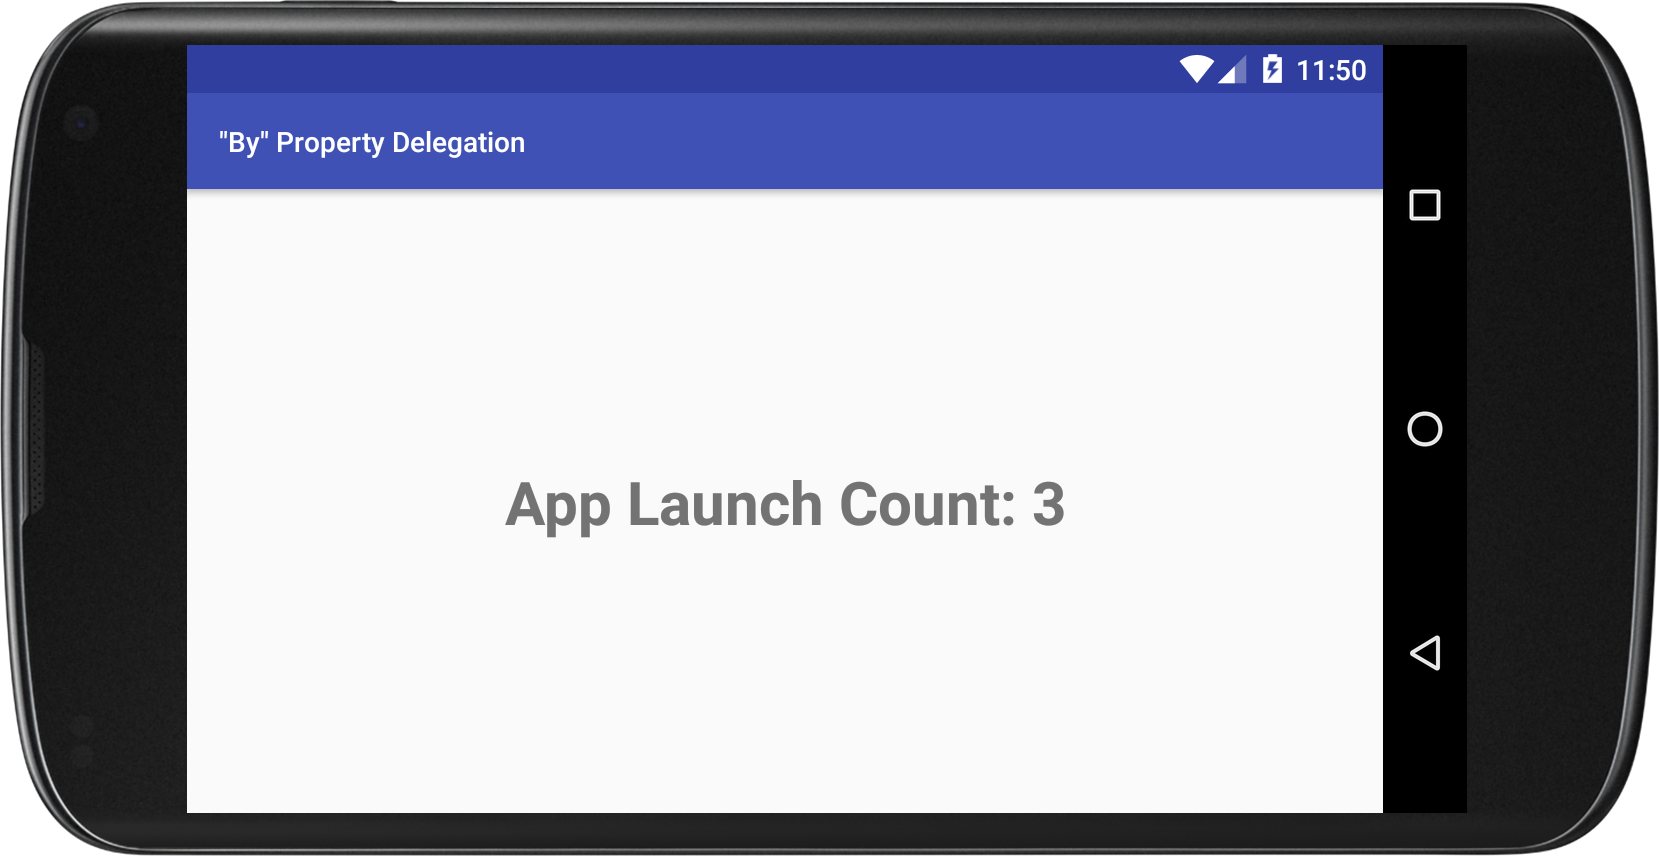
Before jumping directly into the usage, let’s review the sample app without delegation. The complete sample can be downloaded here. The app has one custom Application and one Activity that shows a “launch count”. The count is only incremented in Application#onCreate() when the app is launched, and the actual value is stored in SharedPreferences.
Screenshot
Code
| |
The code works just fine without any delegation. In DelegateApplication we create the AppComponent, inject PreferencesManager, finally increment the launchCount. In DelegateActivity we inject the manager and display the count on a text view. Note that we also get the dimension for the font size in the activity, which is only for demonstration purpose. Normally you would get it from XML resource files.
Even though the sample app seems trivial to implement, it has many common tasks we do in Android development:
- SharedPreferences
- Resources.getDimension()
- View.findViewById()
These are common enough that I think we can use them for showing the magic of property delegations.
#1 SharedPreferences
Let’s start with SharedPreferences. We can encapsulate the common access pattern of integer preferences into a IntPreference class and use them directly in the PreferencesManager :
| |
The extension function is just another pretty way of initializing a instance of IntPreference. Now the PreferencesManager becomes one line of code and the IntPreference can be reused to create another integer preference:
| |
I have seen other posts about using delegation on shared preferences. Some of them make certain “tweaks” to make the code even shorter. For example instead of passing in a name, they use property argument to read the declared name of the property as the name of the preference. The approach might look awesome at beginning, but you have to be careful if you enable obfuscation for your final app. The final name can change from build to build, and I don’t think that is something you would expect. Also I use 0 as the default value. You might want to change it based on your use cases especially when you use the same approach for string preferences. Android SDK allows you to have a null string preferences, so you would want to either define a “reasonable” default value or make the delegated property “nullable”.
#2 Resources.getDimension()
You might wonder how delegation can help here since the call to get dimension is really a one-liner:
| |
But if you ever use libraries like ButterKnife, you would know it’s much more readable when you can declare those dimensions in the same line so you don’t have look through entire source file trying to find out where they are assigned:
| |
Here is how you can reuse the built-in Lazy to achieve it:
| |
and then declare your dimension property in your activity:
| |
The reason why we have to wrap the function call inside lazy is because the activity is not fully “created” when the instance is created. If you try to access resource before Activity#onCreate() you would get a NullPointerException on Context#getResources.
#3 View.findViewById()
Some of you might think you can apply the same mechanism we learn from bindDimension() on the findViewById(). Yes but with some “gotchas”.
The code here will always work properly:
| |
But the following might not:
| |
It does not always work not because of the !! nor the use of LazyThreadSafetyMode.NONE. It’s because of the evil fragments…
Recall that Lazy will only run initializer lambda once and cache the result. That is not a problem for Activity since the content view in an activity is destroyed only when the activity is also destroyed. However that is that also the case for Fragment. A fragment can go to “detached” state and the view will be re-created when the host fragment is re-attached again. When view is created again, the previous instance is still cached by the lazy property and some weird issues happen.
I learned this from Chris Banes’s tweet:
Just got bit by a Kotlin gotcha: using `by lazy` for view vals. It will still point to the old view instance after fragment view recreation. pic.twitter.com/gmjQwy0wjc
— Chris Banes (@chrisbanes) August 14, 2017
So be very careful when you’re trying to be “lazy”
Conclusion
Property delegation is a powerful feature that allows developers to write reusable and more readable code. The code can be more expressive to your own business logic. There are many built-in delegates, but Kotlin makes it easy to write your own as well. Always be cautious about the language features and the frameworks you work with so that you won’t get surprises.
Happy Kotlining!