Writing custom views or view groups is quite common nowadays, but sometimes it can be really cumbersome. You have to write overloaded constructors so that they would work properly in layout editor, or you define and implement some interfaces so that you don’t have to copy and paste the same code in different subclasses. With Kotlin we can easily avoid those common pain points when writing custom views and still enjoy full interoperability with Android!
Let’s get to the point straight. (This seems to be the norm recently). Kotlin provides:
@JvmOverloadsannotation to generate overloaded functions or constructors, which can eliminate the boilerplate code you normally write for various view constructors in custom views.- Top level (file level) functions and properties so that you don’t have to create *Utils classes just to share the common code across various subclasses.
- Top level functions can be declared as private or internal so that your implementation details of custom views don’t leak outside of desired scope.
Nothing is better than some real examples, right? Let’s implement some “custom font views” together! I believe writing custom font text view is one common task that every Android developers has done. Even if you have not, your company might have already had a shared library for you to use anyways.
I know the recently support library v26 has already implemented features like Fonts in XML or Downloadable Fonts, but most of time you might still have to use your own implementation because you must use custom fonts other than Google Fonts.
Also the techniques can be applied any other kinds of custom views.
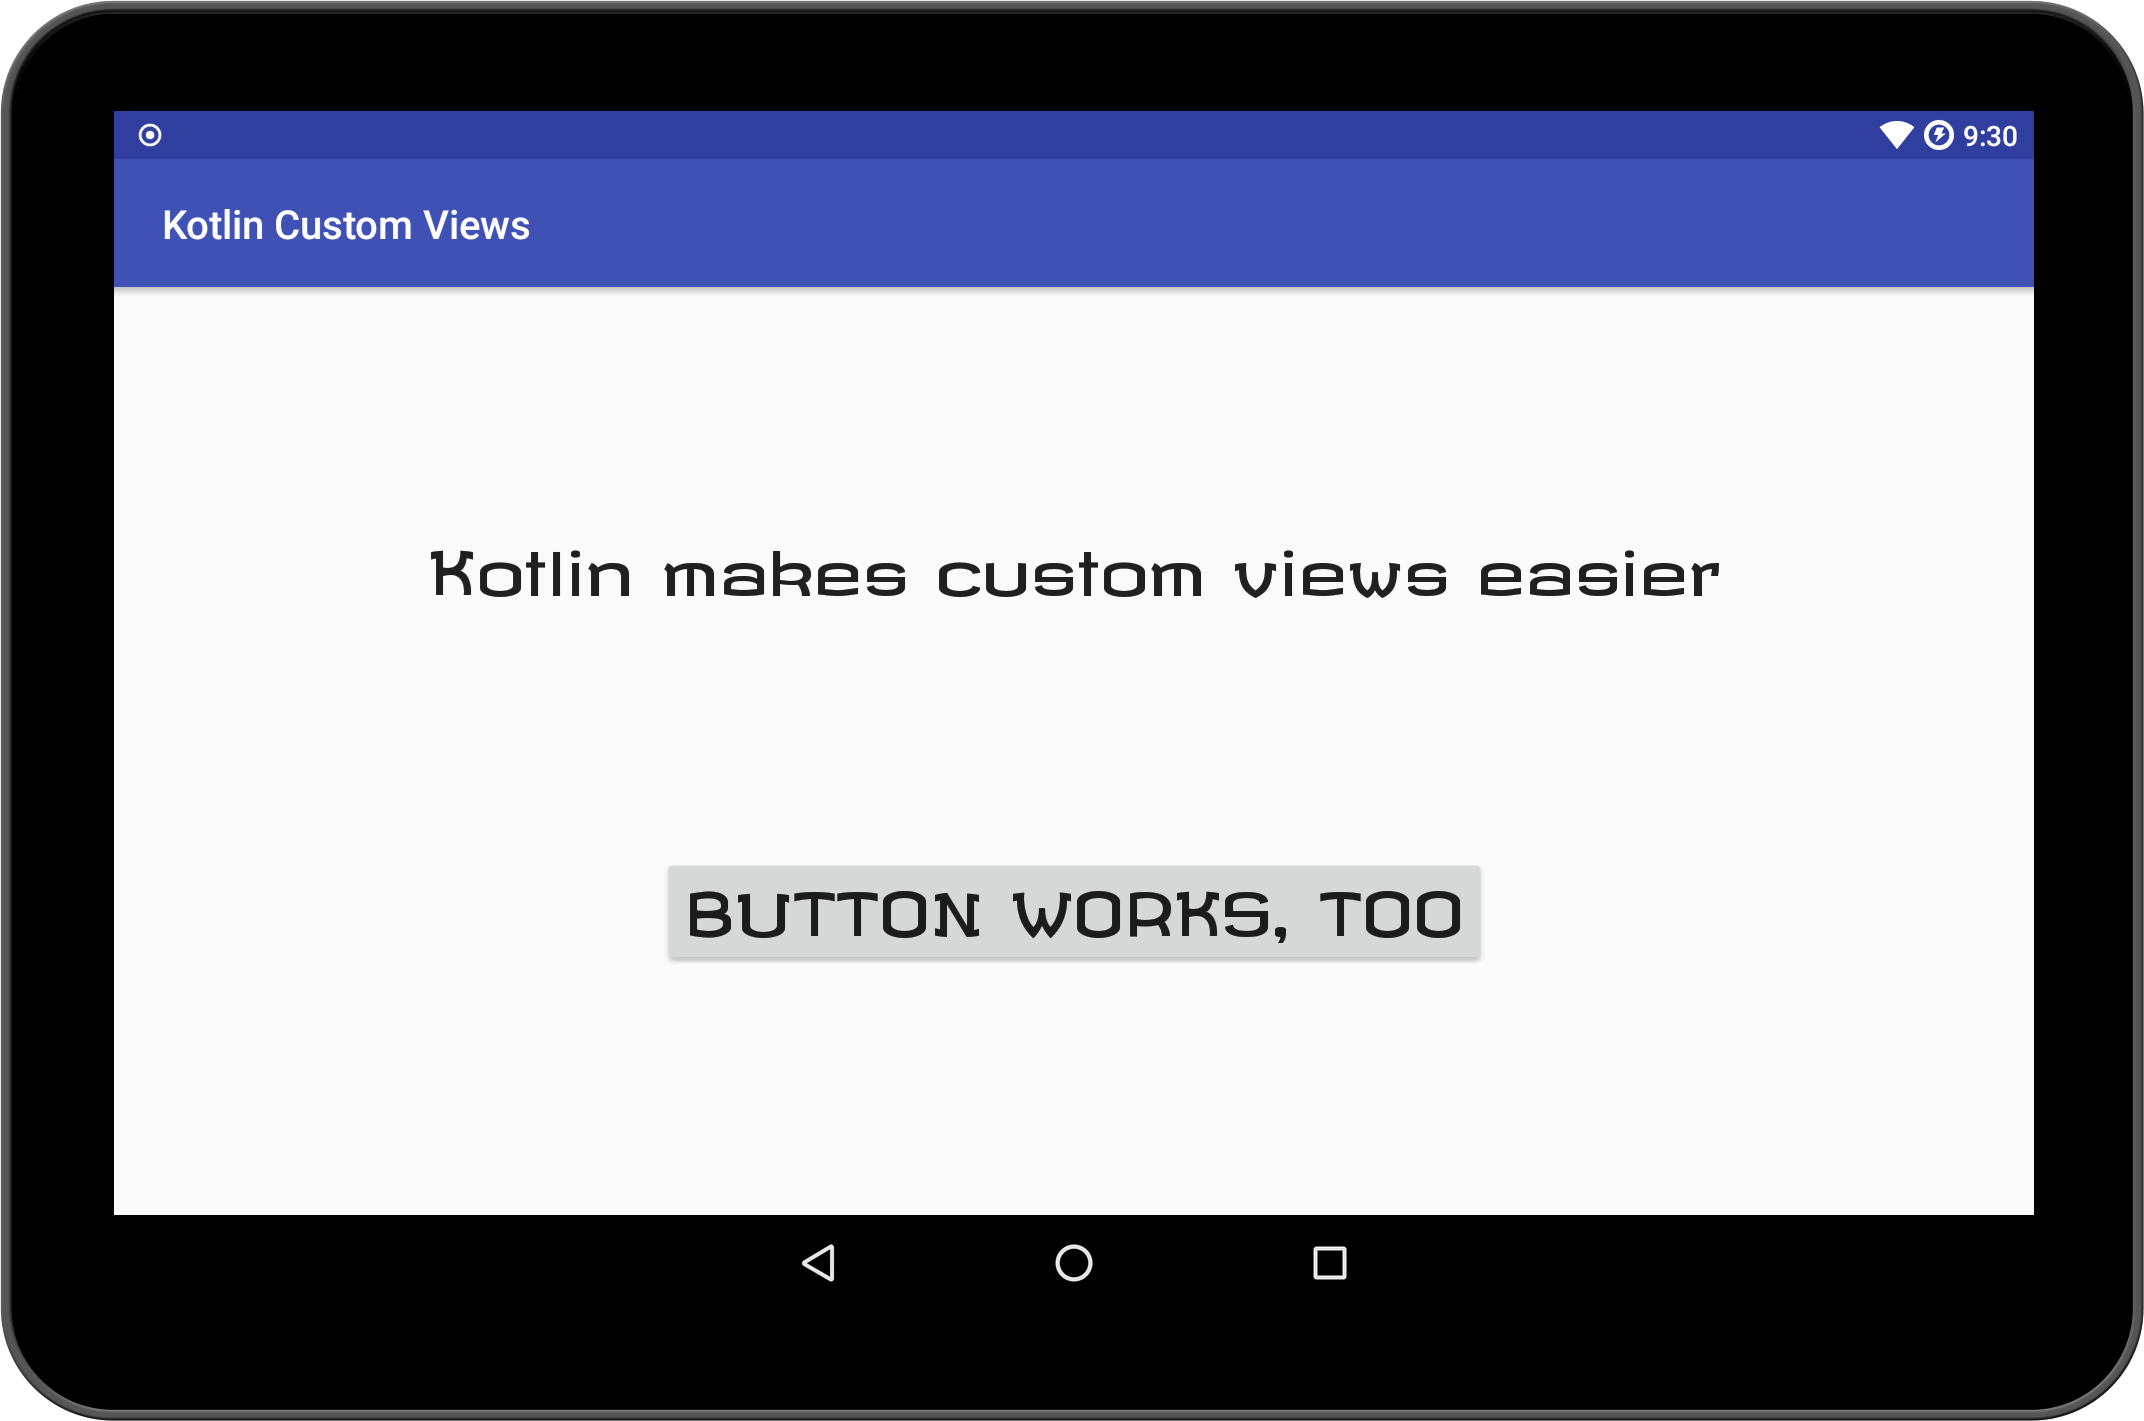
I have created a sample app on Github. It has only one activity with a custom text view and a custom button that are written in Kotlin, and shows a custom typeface loaded from assets directory. In the repo I also include the equivalent Java implementation in alternative package to show the differences.
When you run the app it should look like:
Here is the main kotlin file for all the custom font views:
CustomFontViews.kt
| |
Let’s go through the techniques I use together.
@JvmOverloads annotation
When writing custom views in Java, you probably would ask yourself which constructor should I override? The answer is simply “it depends” because each one has its own use case. If you want to understand the difference more, Dan Lew has a blog post A deep dive into Android View constructors for you to read.
Also if you look into the Android source code, you will find most of views have the same pattern for their constructors. The first one calls the second one, and the second one calls the third. For example AppCompatTextView defines its constructor as follows:
| |
Eventually the third constructor is called to initialize the view. The first and second simply supply default values to the third constructor.
So with Kotlin we can define only one constructor with all three arguments and provide desired default values to achieve the same behavior. It would work just fine in code. However when Android framework read the XML with your custom views and it would still fail because it uses reflection to initialize your custom views (that’s also why you have to include the full qualified class name in XML layouts for custom views).
The @JvmOverloads annotation comes to save our time. Adding the annotation will:
Instructs the Kotlin compiler to generate overloads for this function that substitute default parameter values.
If a method has N parameters and M of which have default values, M overloads are generated: the first one takes N-1 parameters (all but the last one that takes a default value), the second takes N-2 parameters, and so on.
In our use case it would generate all three constructors we need if you supply default values to attrs and defStyleAttr.
Top Level readTypeFace function
Because our custom text view, button, and edit text all do the same thing: read and assign custom typeface, we create a shared function readTypeFace to read declared font files.
In Java, you would need either a separate class usually called *Utils.java (like what I did in the sample code) or an interface for all the custom views to implement and somehow execute a common code path to assign typefaces (sounds weird but I have seen this approach somewhere).
So how can Kotlin help here? Top level function is the answer! Kotlin breaks the line of having to declare a separate class for one method by supporting top level function and properties declarations in file level. On top of that you can also declare multiple public classes in the same file. (Java can have more than one classes in the same file, but they cannot be all public)
In CustomFontViews.kt file, I simply put all my custom font views in it and have a shared function to help me read the typeface. They’re all in the same place so I easily tweak them without jumping through different files anymore.
private and internal Visibility Modifiers
You might also notice that I declare readTypeFace as a private function. It simply becomes an implementation detail of my custom font views. When accessing these custom views, you don’t need to know about the function and don’t even see it in the IDE unless you’re editing the file where it’s declared.
Think about the common Java approaches I mentioned earlier. Having a common *Utils class or interface is great but everyone outside your custom views also has the access to it because they are public. It inevitably leaks the implementation details!
Kotlin also provides a new internal modifier you can use. It means the declaration (class, function, property) is visible only within the same module (think of the module as a library jar or gradle module). It can be very useful when you’re building a library for other developers to consume and you don’t want to expose the declaration.
Note that since Java does not really support internal visibility, what Kotlin complier does is to “make sure” the name of generated declaration is difficult to find. (yes, you can still use it if you know the name of generated class magically)
Conclusion
With Kotlin writing custom views can be much more concise and elegant. You should try it out too. Happy coding with Kotlin!